How to Setup/Install BIND DNS Server. The best way to install a DNS Server on any of the cloud platforms is to use our ready to deploy BIND9 DNS Server in the cloud marketplaces. Check the links below to deploy BIND DNS Server into your cloud environment. Also comes pre installed with Webmin, allowing you to manage the server via a web portal, making it easier to manage and configure the server via a GUI.
Please connect and log in and follow the steps on how to start using BIND9 DNS / Webmin.
Access Webmin
The server has Webmin installed, allowing you to manage the server via a web portal.
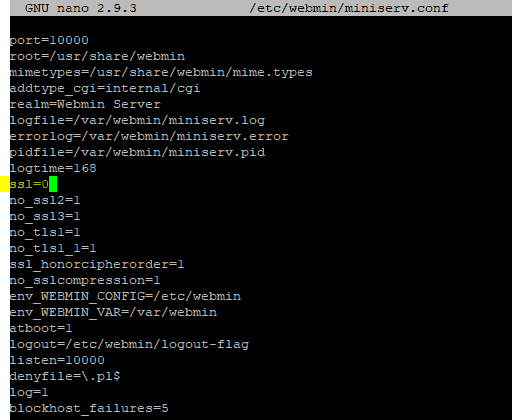
First you need to update the miniserv.conf file
From your SSH terminal run the following command:
sudo nano /etc/webmin/miniserv.conf
Then scroll down to ‘SSL=1‘ and change it to ‘SSL=0‘ (Some installations may already have this set)
This is so you dont receive SSL errors when accessing the Webmin portal.
Press Ctrl+O to save and then Ctrl+X to exit the config file.
Run the following command to restart the Webmin services
sudo /etc/init.d/webmin restart
Or
sudo service webmin restart
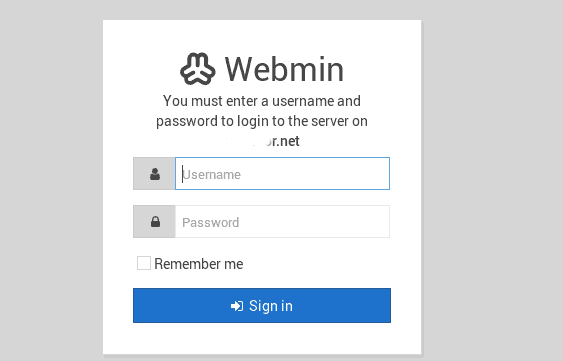
Now access the following URLs to access the Webmin portal using the servers IP:
http://PublicIP:10000
Or
http://PrivateIP:10000
Login using the root user and password.
How to Configure BIND DNS Server
You can manage the DNS server via Webmin or via your SSH terminal.
Manage DNS via Webmin
If you login via Webmin you can manage DNS as per the following:
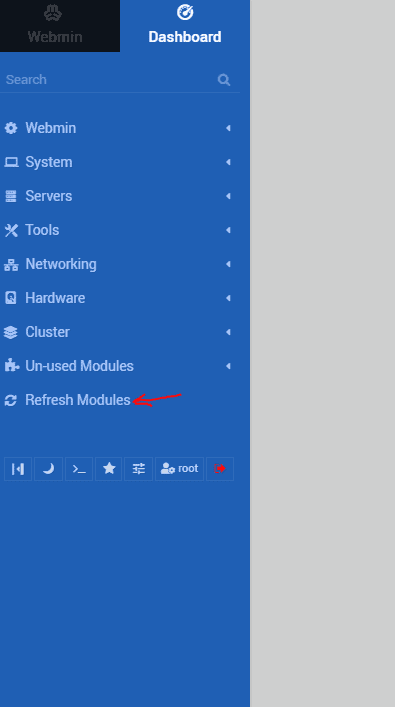
First step is to refresh the modules. From the left column press refresh modules:
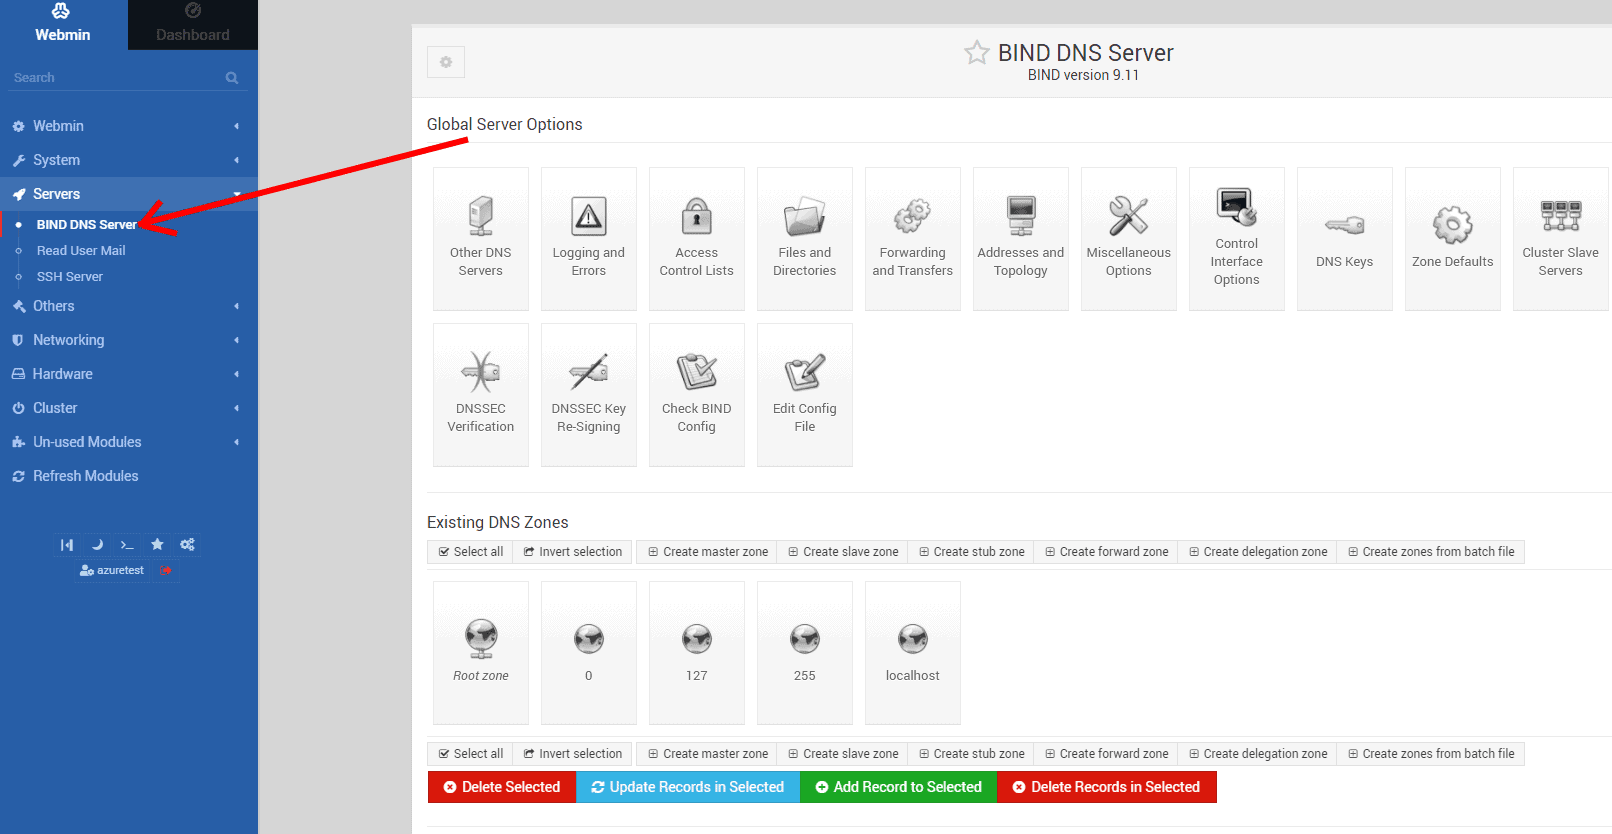
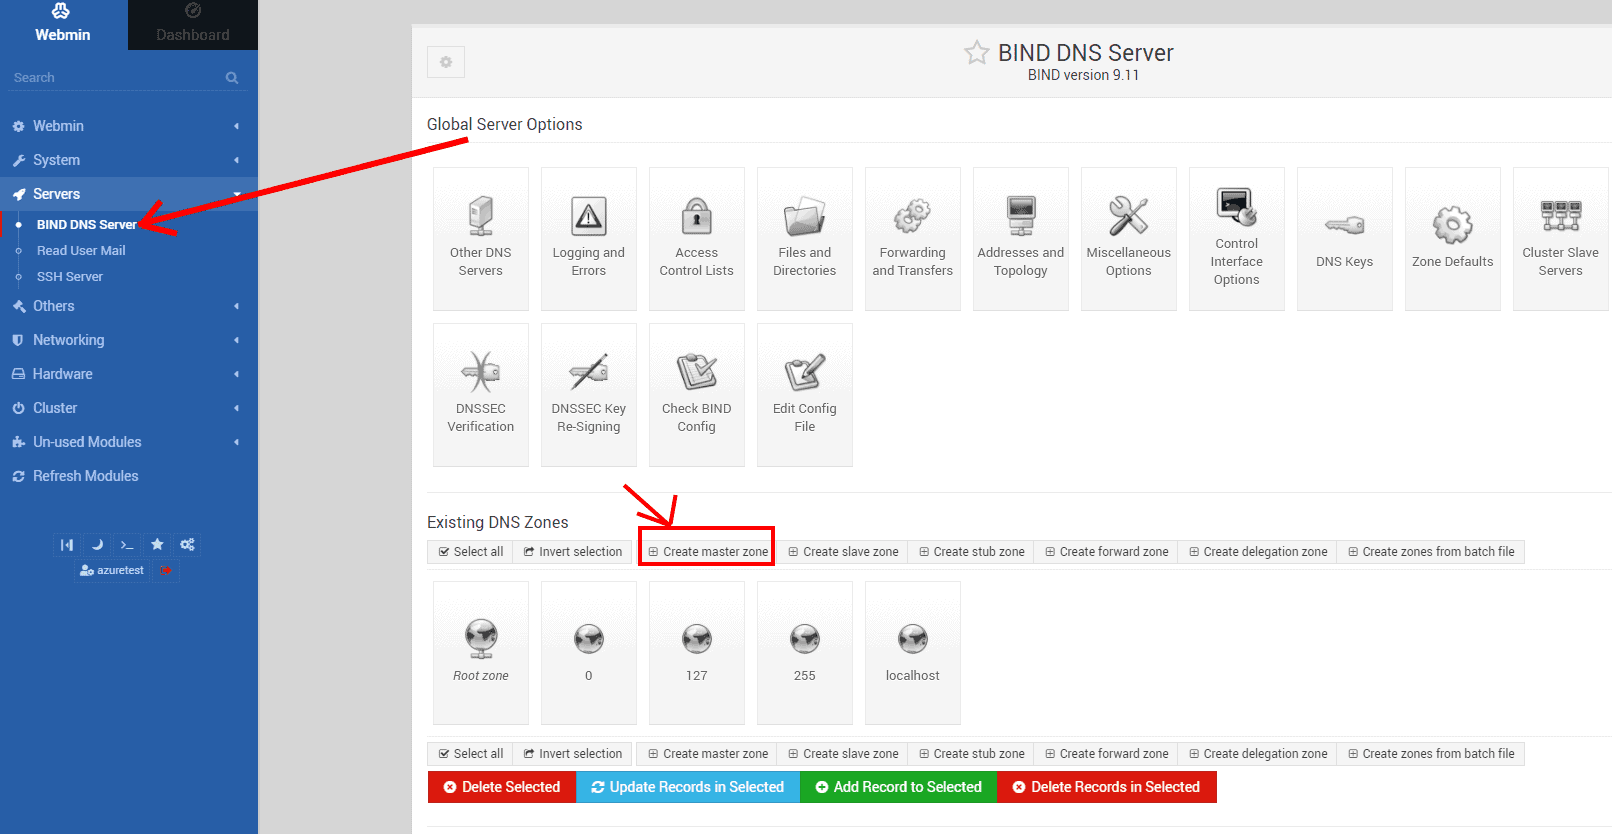
Click on the Servers tab and choose BIND DNS server.
Click on ‘Create Master Zone’, if you want to create your first DNS Zone.
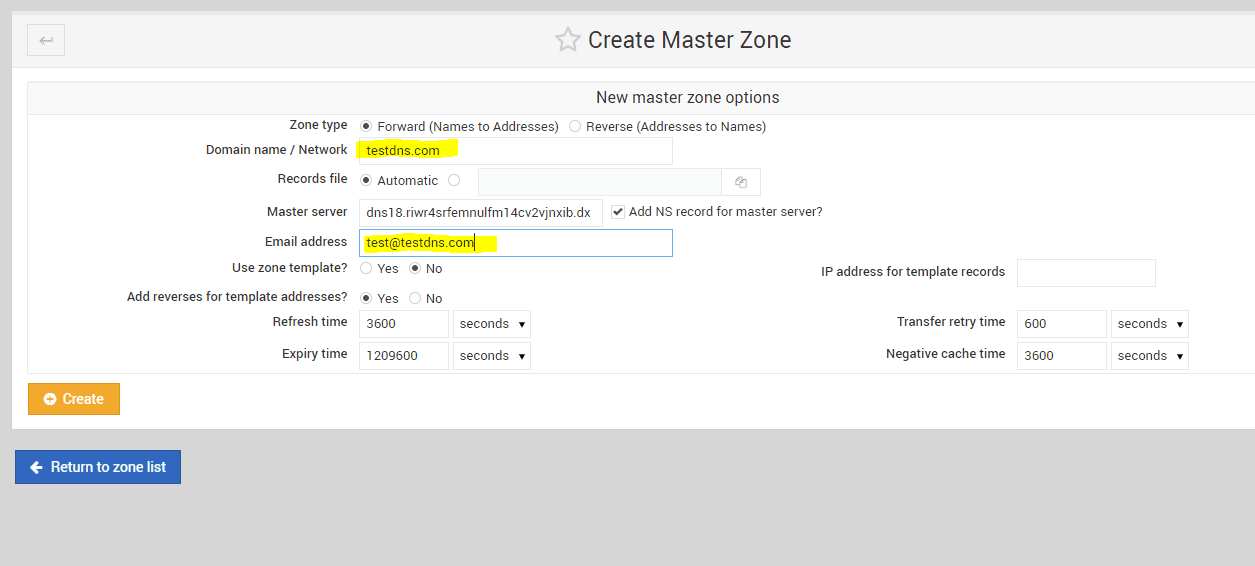
Under Domain name / Network add the name of this DNS zone you want to create. Add email address in the email address filed and then hit ‘Create’.
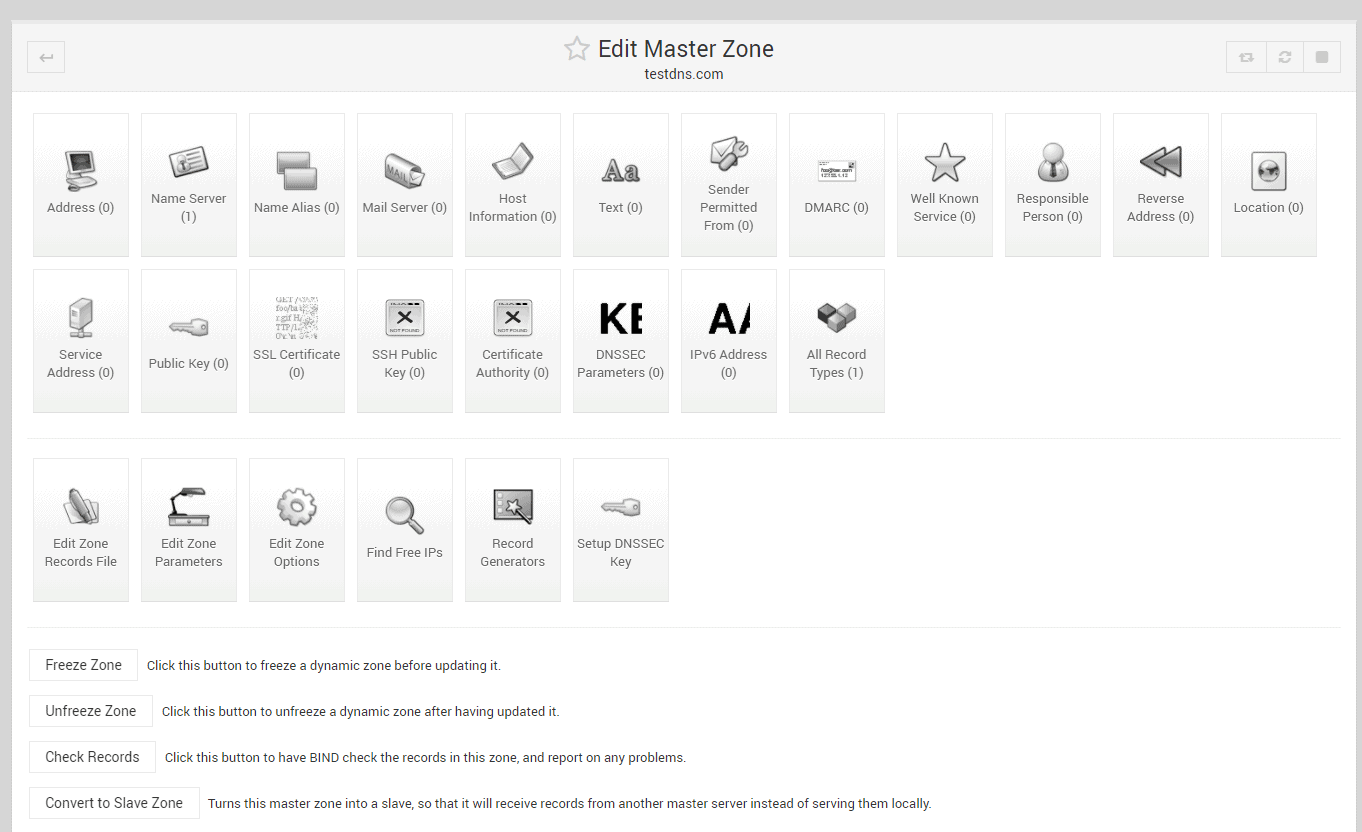
When you return to the zone list you will see the different options on creating DNS entries. Under ‘Address’ section, is where you would normally add entries.
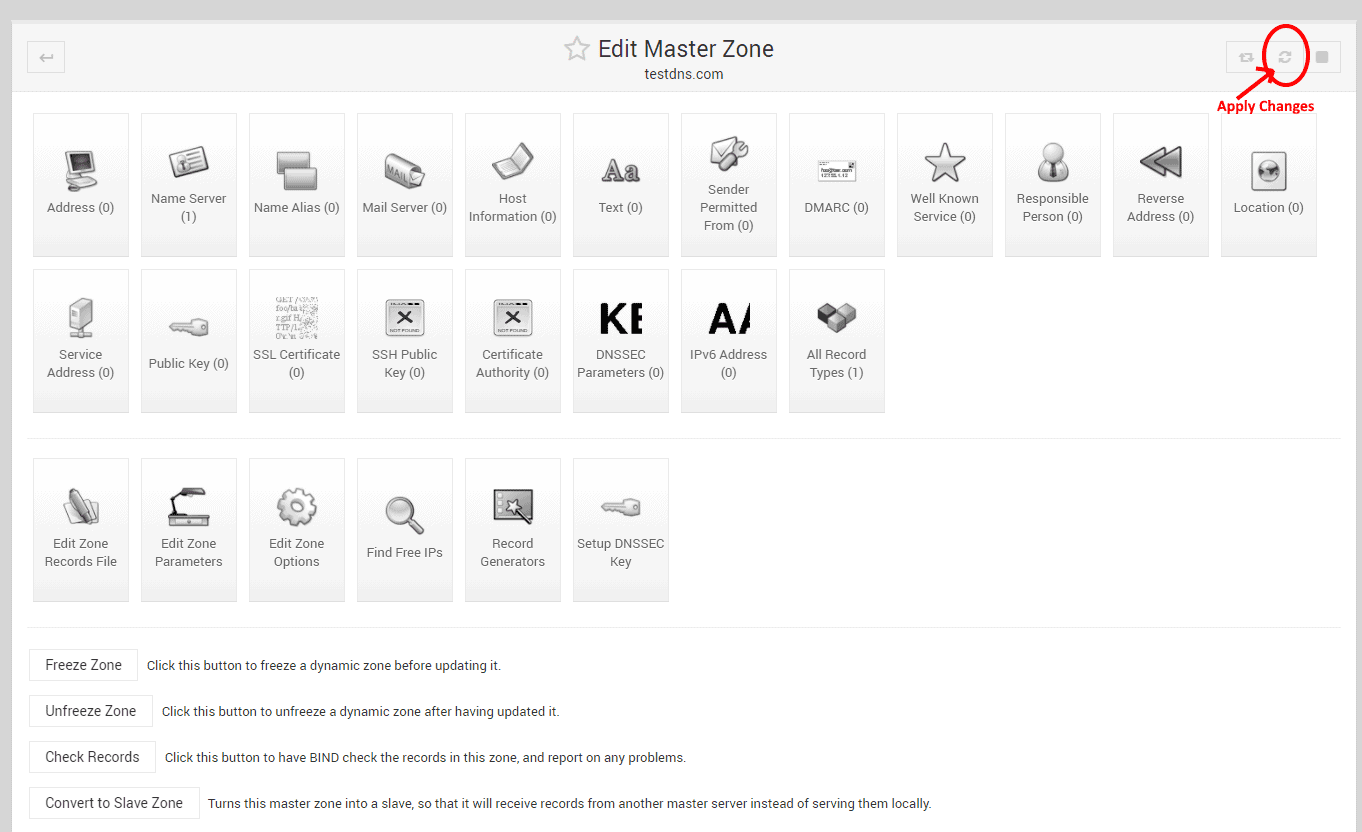
When finished, please click on Apply changes button on the top right corner.
BIND DNS Firewall Ports
The following firewall ports are enabled in this solution and are required:
TCP 53
UDP 53
TCP 10000
If you are using any of the cloud security groups and need to change / add ports refer to the following guides:
Cloud Solution Architect. Helping customers transform their business to the cloud. 20 years experience working in complex infrastructure environments and a Microsoft Certified Solutions Expert on everything Cloud.
00votes
Article Rating
Subscribe
Login and comment with
I allow to create an account
When you login first time using a Social Login button, we collect your account public profile information shared by Social Login provider, based on your privacy settings. We also get your email address to automatically create an account for you in our website. Once your account is created, you'll be logged-in to this account.
DisagreeAgree
Login and comment with
I allow to create an account
When you login first time using a Social Login button, we collect your account public profile information shared by Social Login provider, based on your privacy settings. We also get your email address to automatically create an account for you in our website. Once your account is created, you'll be logged-in to this account.