How to Install Nagios Open Source Monitoring on Ubuntu 20.04 Server. In this article we will introduce what Nagios server is with it’s main features and pros and move onto installation phase with using Apache Web Server, PHP and NRPE plugins. Let’s get started!.
What is Nagios
Nagios is a free, open source, and most powerful monitoring software that provides monitoring services for servers, switches, applications and various Linux based devices. With Nagios, you can monitor CPU load, disk space, memory usage and running processes on a remote server. It also sends a warning and critical notifications via email. Nagios works on client server architecture. It uses an NRPE plugin to obtain information from the remote systems.
Nagios core has the ability to monitor remote devices running Linux, Windows and Unix operating systems. It provides an informative and attractive web interface, where you can monitor all remote hosts and services. If you are looking for an open source monitoring solution then Nagios is the best choice for you.
How to Install Nagios Open Source Monitoring on Ubuntu 20.04 Server
Install Apache, PHP, and Other Components
Firstly, you will need to install the Apache webserver, PHP and other required packages to your server. You can install all of them by running the following command:
apt-get install apache2 php libapache2-mod-php autoconf bc gawk dc build-essential gcc libc6 make wget unzip libgd-dev libmcrypt-dev make libssl-dev snmp libnet-snmp-perl gettext -y
After installing all the packages, start the Apache service and enable it to start at system reboot:
By default, the latest version of the Nagios package is not available in the Ubuntu default repository. So it is recommended to install the Nagios from the source.
So the first step is to download the latest version of Nagios using the following command:
Once the download is completed please extract the downloaded file with the following command:
tar -xvzf nagios-4.4.6.tar.gz
Next, navigate to the extracted directory and configure it with the following command:
					cd nagioscore-nagios-4.4.6
./configure --with-httpd-conf=/etc/apache2/sites-enabled
You will get the following output:
					General Options:
-------------------------
Nagios executable: nagios
Nagios user/group: nagios,nagios
Command user/group: nagios,nagios
Event Broker: yes
Install ${prefix}: /usr/local/nagios
Install ${includedir}: /usr/local/nagios/include/nagios
Lock file: /run/nagios.lock
Check result directory: /usr/local/nagios/var/spool/checkresults
Init directory: /lib/systemd/system
Apache conf.d directory: /etc/apache2/sites-enabled
Mail program: /bin/mail
Host OS: linux-gnu
IOBroker Method: epoll

Web Interface Options:
------------------------
HTML URL: http://localhost/nagios/
CGI URL: http://localhost/nagios/cgi-bin/
Traceroute (used by WAP):


Review the options above for accuracy. If they look okay,
type 'make all' to compile the main program and CGIs.
Following is to run this command to compile all required programs:
					make all
make install-groups-users
Then add the Nagios user to the Apache group:
usermod -a -G nagios www-data
Here install Nagios including, web config, command mode and other components using the following command:
					make install
make install-daemoninit
make install-commandmode
make install-config
make install-webconf
Next, enable the Apache rewrite and cgi module with the following command:
a2enmod rewrite cgi
Finally please restart the Apache service to apply the changes:
systemctl restart apache2
Create Nagios Admin User
For security purposes, it is recommended to secure the Nagios with password based authentication. You can create a Nagios admin user and set the password using the following command:
Next phase is to install the Nagios and NRPE plugins to your system. NRPE allows you to remotely execute Nagios plugins on other Linux machines. This will allows you to monitor remote machine metrics from the command line.
You can install them by running the following command:
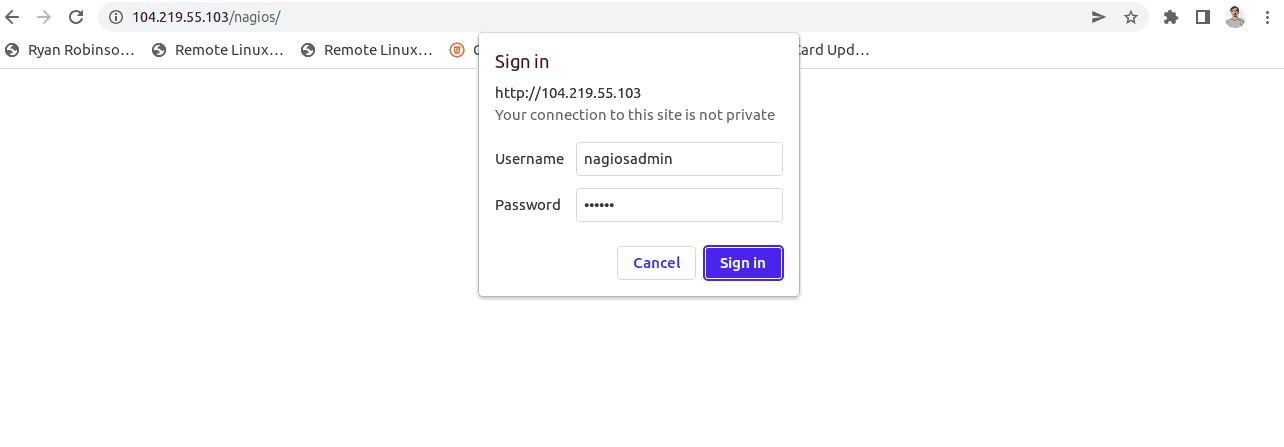
At this point of the tutorial How to Install Nagios Open Source Monitoring on Ubuntu 20.04 Server is that Nagios is installed and configured on your server. You can now access it using the URL http://your-server-ip/nagios. You will be asked to authenticate:
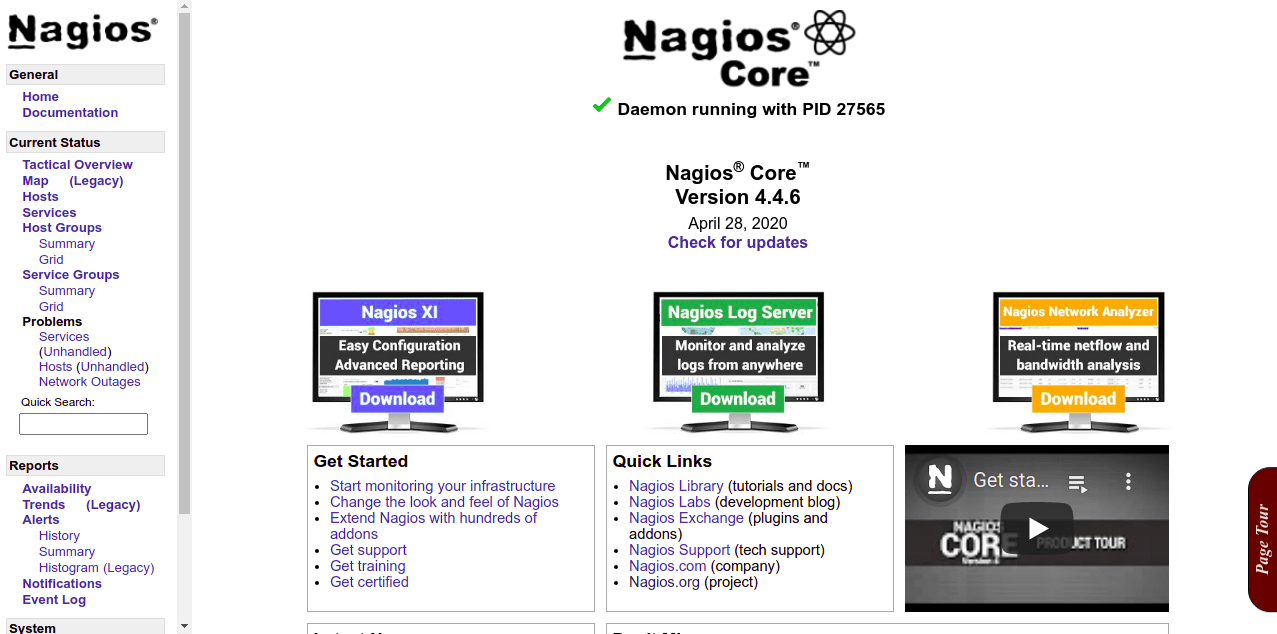
Provide your Nagios admin username, password and click on the Sign in button. Once you are log in, you should see the Nagios dashboard in the following page:
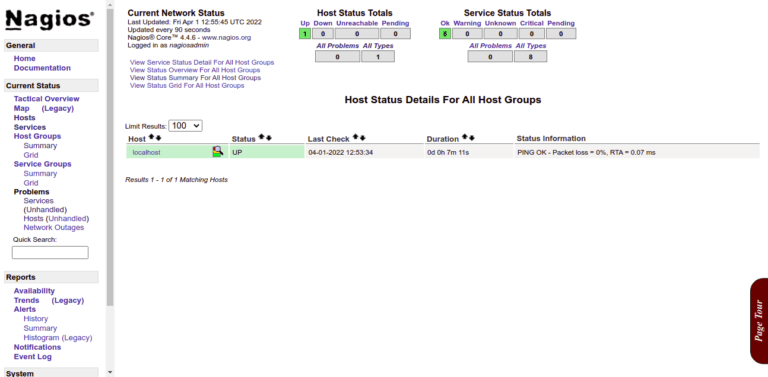
2. Click on the Hosts in the left pane, you should see your local server on the following page:
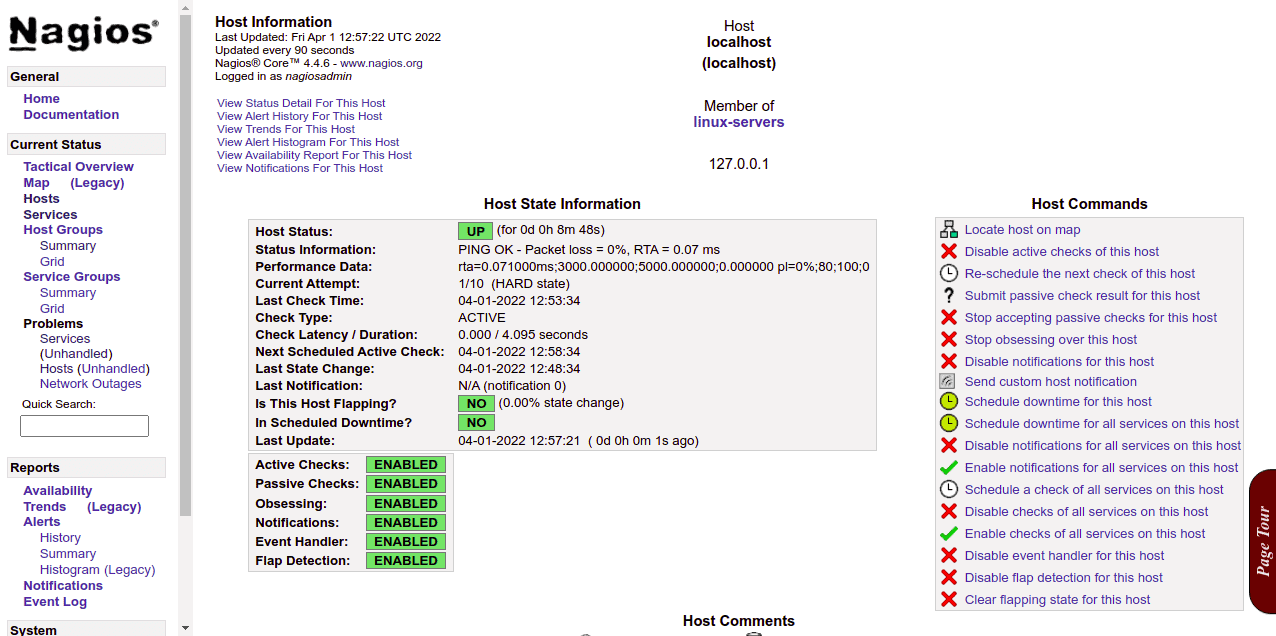
3. Click on the localhost. You should see your server related information on the following page:
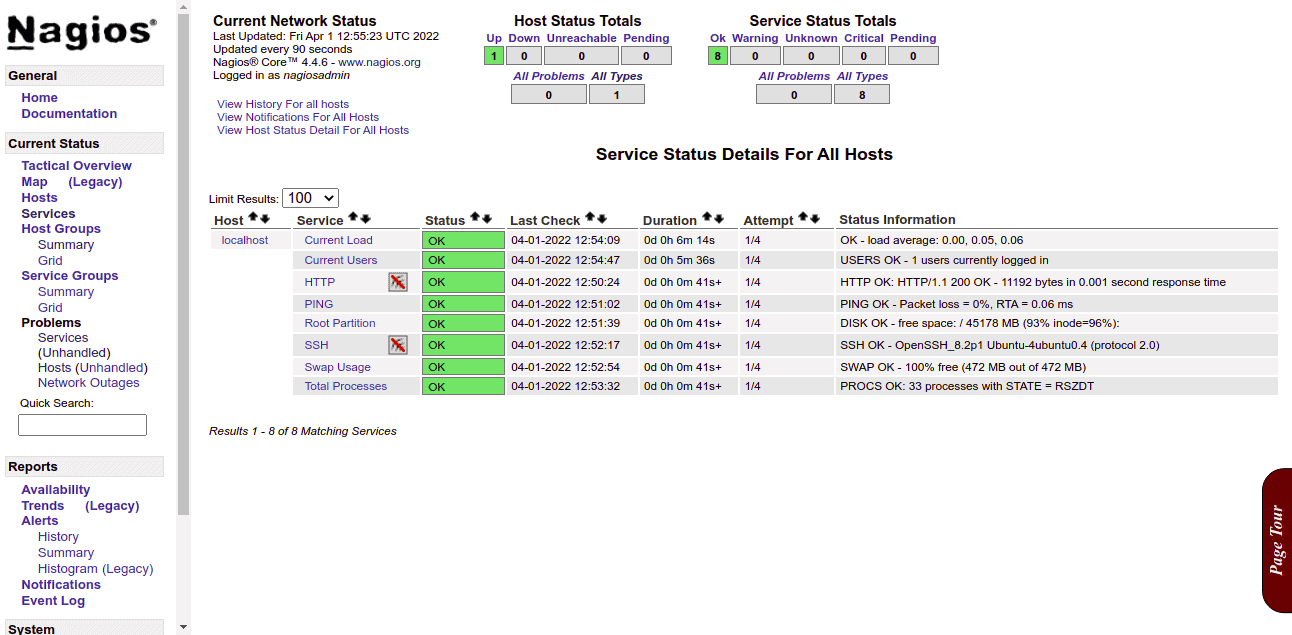
4. Click on the Services in the left pane, you should see the status of all running services on the following page:
Great well done, you have followed all the steps and learned How to Install Nagios Open Source Monitoring on Ubuntu 20.04 Server
How to Install Nagios Open Source Monitoring on Ubuntu 20.04 Server Conclusion
The Nagios monitoring tool is a strong monitoring tool that helps to detect the issues and performance pauses present in the network. The web interface provided by the tool helps to monitor the network and helps to find the issues present in the network component.
In the above guide, we explained how to install the latest version of Nagios on Ubuntu 20.04 server. We also explained how to install the Nagios and NRPE plugins and configure them to monitor the server itself. You can now add the remote hosts to the Nagios and start monitoring them from the central location.
I am a fan of open source technology and have more than 10 years of experience working with Linux and Open Source technologies. I am one of the Linux technical writers for Cloud Infrastructure Services.
41vote
Article Rating
Subscribe
Login and comment with
I allow to create an account
When you login first time using a Social Login button, we collect your account public profile information shared by Social Login provider, based on your privacy settings. We also get your email address to automatically create an account for you in our website. Once your account is created, you'll be logged-in to this account.
DisagreeAgree
Login and comment with
I allow to create an account
When you login first time using a Social Login button, we collect your account public profile information shared by Social Login provider, based on your privacy settings. We also get your email address to automatically create an account for you in our website. Once your account is created, you'll be logged-in to this account.